Description
NEW LIMITED EDITION SET
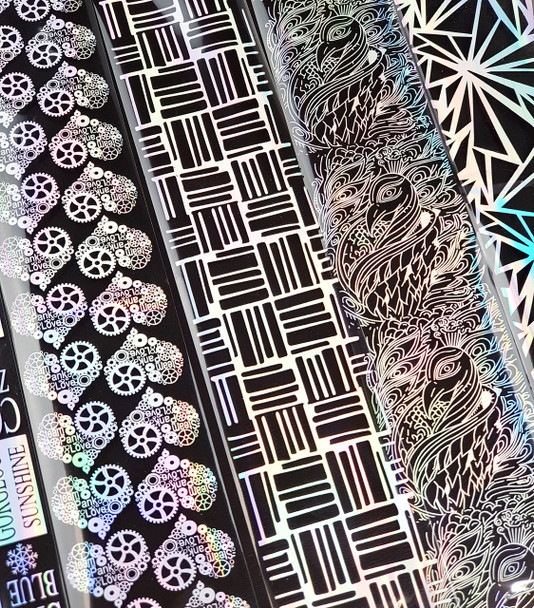
8PCS Silver Holographic Nail Art Transfer Foils
You will receive 8 different designs measuring 4cm X 20cm each.
For best results we do recommend using a black colour polish or gel polish prior to applying the foil.
Nail foils can be applied in full over the natural nail or in smaller amounts to create patterns or random bursts of colour. It can be applied onto coloured nail polish, over gel polish, or over artificial nails.
Full Cover Nail Application Instructions:
- Prepare the nail bed by shaping, pushing cuticles back and removing all dead skin. Remove nail oils with nail cleanser or nail polish remover.
- Cut a square of foil out which is slightly larger than the nail area. Apply a thin, even coat of nail foil adhesive to each finger. You should wait when it just tacky to the touch. In a colder climate the assistance of a UV light may also assist with drying the glue. The glue will be clear when dry.
- Press foil onto the nail bed and rub over using your finger. Start from the centre of the finger and push the foil out to each side.
- Remove the foil and the foil pattern should be stuck to your nail. If a bit is missing due to lack of foil adhesive, just reapply the adhesive to the part not taken and repeat.
- Once completely dry, apply a coat of 'water based' sealer or UV top coat (soak-off) to protect the foil. If the adhesive is not completely dry before applying the top coat, the foil will rub off.


